



The 20-Minute Hotel Room Workout (Quiet, No Gym Required)
A hotel room workout should be easy to start and useful enough to count. This 20-minute plan trains your legs, glutes, chest, upper back, and core without equipment. Pack resistance bands and you can add loaded rows, presses, and more resistance without depending on the hotel gym. You've seen hotel gyms before and most suck.
Start with the bodyweight version below. Stop each set before your form breaks down.
Your 20-minute hotel workout at a glance
Warm up for three minutes. Complete the eight stations twice. Use 40 seconds of exercise followed by 20 seconds of rest and transition. Finish with one minute of easy movement. 3 min warmup + 16 min workout + 1 min cooldown = 20 minutes total.
| Station | Exercise | Sets | Work per set |
|---|---|---|---|
| 1 | Split squat, left foot forward | 2 | Up to 40 seconds |
| 2 | Split squat, right foot forward | 2 | Up to 40 seconds |
| 3 | Push-up | 2 | Up to 40 seconds |
| 4 | Prone Y-T-W raise | 2 | Up to 40 seconds |
| 5 | Glute bridge | 2 | Up to 40 seconds |
| 6 | Dead bug | 2 | Up to 40 seconds |
| 7 | Forearm plank | 2 | Up to 40 seconds |
| 8 | Wall sit | 2 | Up to 40 seconds |
Before you start
Clear roughly a 6-by-6-foot area, then check that you can extend your arms and legs without hitting furniture.
Choose a dry, nonslip surface. Avoid socks on slick floors, rugs, rolling chairs, and beds or desks used as improvised exercise equipment.
For your three minute warm up, spend one minute quietly marching, one minute alternating shallow squats and hip hinges, and one minute doing arm circles and practicing wall push-ups. Start gently.
Stop any movement that causes sharp pain. If you're pregnant, injured, or managing a medical condition, check with your clinician before starting a new routine.
Also, I know these stick figure demonstrations are a bit basic, but I like basic...and I'm not a designer, so lets just get to it.
The bodyweight version
1. Split squats (stations 1 and 2)
Stand in a staggered stance with both feet on the floor. Bend both knees and lower straight down, keeping your front foot planted. Push through that foot to stand. Complete one station with your left foot forward, then one with your right foot forward.
- Easier: Use a shallower range and touch a wall for balance.
- Harder: Take three seconds to lower, then pause briefly.

2. Push-ups (station 3)
Place your hands slightly wider than shoulder width. Keep your body aligned as you lower your chest between your hands. Let your elbows angle back rather than flare straight sideways.
- Easier: Use a wall or do knee push-ups.
- Harder: Slow the lowering phase or pause just above the floor.

3. Prone Y-T-W raises (station 4)
Lie face down with your forehead resting on a folded towel. Reach your arms overhead in a Y with thumbs up, squeeze your shoulder blades, and lift your arms a few inches; lower slowly. Repeat with arms straight out to the sides (T), then with elbows bent and pulled toward your ribs (W). Keep cycling through the three shapes.
- Easier: Use a smaller lift, or do one shape for the whole set.
- Harder: Hold each lift for two to three seconds.

4. Glute bridges (station 5)
Lie on your back with knees bent and feet flat. Press through your feet and lift your hips, squeezing your glutes without arching your lower back.
- Easier: Lift through a smaller comfortable range.
- Harder: Pause at the top or use a single-leg bridge, switching legs halfway through.

5. Dead bugs (station 6)
Lie on your back with arms raised and hips and knees bent. Slowly extend one arm and the opposite leg while keeping your trunk still. Return and alternate.
- Easier: Keep your arms still and lower one heel at a time.
- Harder: Extend the moving leg farther without letting your lower back arch.

6. Forearm planks (station 7)
Place elbows beneath shoulders and hold a straight line through your body. Breathe normally; end the hold before your hips sag.
- Easier: Keep your knees down or use shorter holds.
- Harder: Move your elbows slightly forward while maintaining control.

7. Wall sits (station 8)
Lean your back against a solid wall and slide into a comfortable partial squat. Keep your feet planted and breathe throughout the hold.
- Easier: Stay higher on the wall.
- Harder: Sit lower if comfortable.

Upgrade with travel resistance bands
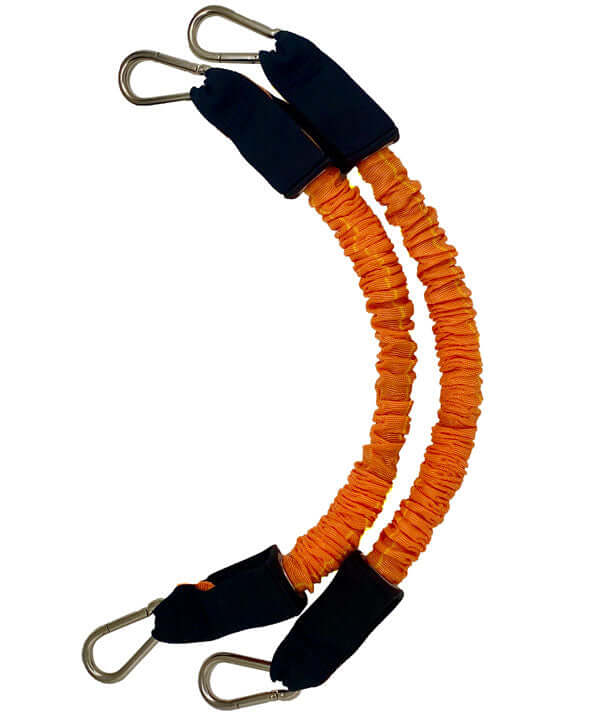
The bodyweight plan covers every major area, but it's hard to keep adding challenge to upper-body pulling without equipment. Travel resistance bands add loaded rows and presses, plus more ways to adjust the difficulty.
Use these eight stations with the same timer:
| Station | Exercise | Main cue |
|---|---|---|
| 1 | Banded squat | Stand securely on the band; keep knees tracking with toes. |
| 2 | Standing band row | Face a suitable anchor; pull elbows back without leaning. |
| 3 | Standing band chest press | Face away from the anchor; press without arching your back. |
| 4 | Band overhead press | Stand on the band; press upward with ribs controlled. |
| 5 | Split squat, left foot forward | Lower slowly; front foot stays planted. |
| 6 | Split squat, right foot forward | Match the first side's range and control. |
| 7 | Glute bridge | Lift through your hips, not your lower back. |
| 8 | Dead bug | Move opposite limbs without rocking your trunk. |
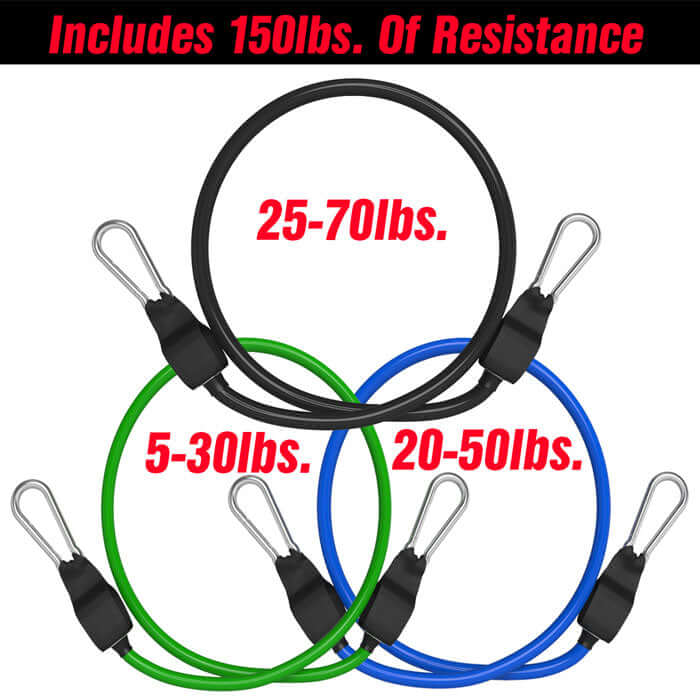
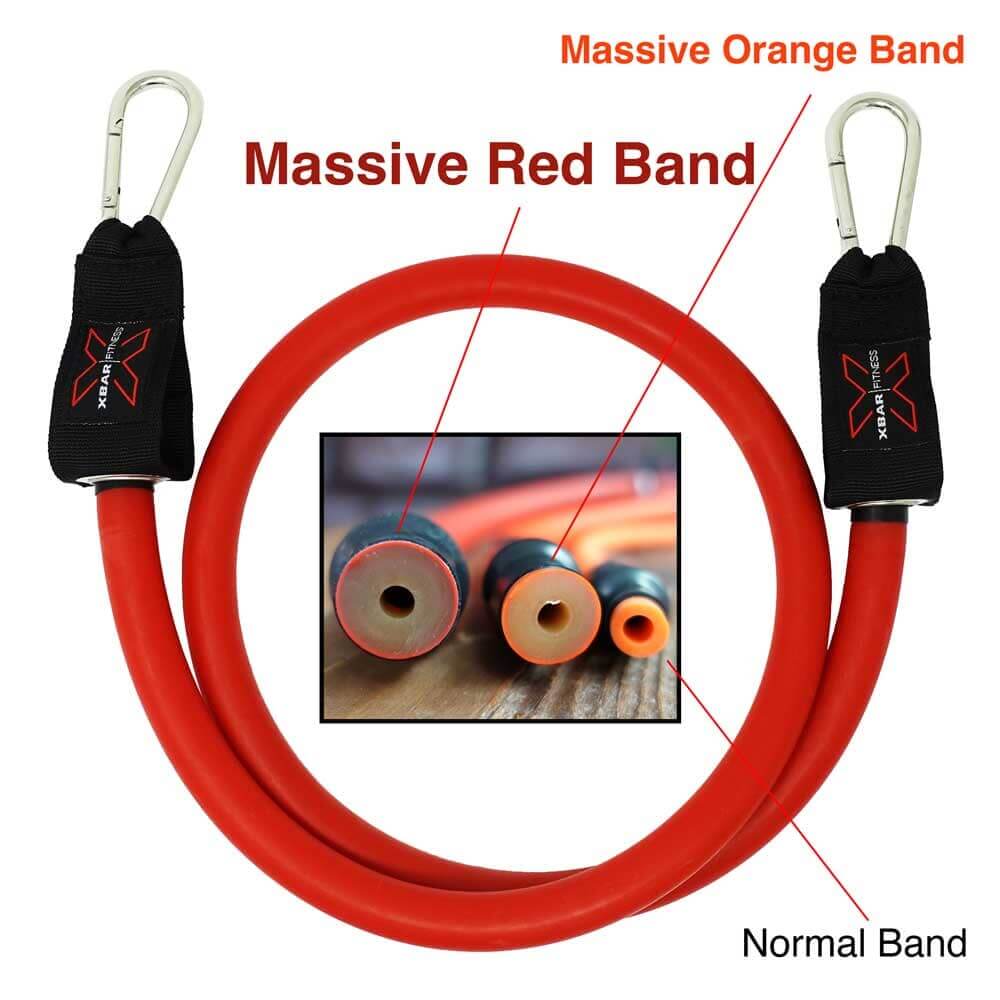
Choose resistance that allows smooth repetitions while leaving roughly two good reps available. Inspect bands and connections, follow their stretch limits, and use the lighter option when unsure.
No suitable door? Swap the anchored row for a manufacturer-approved, foot-anchored bent-over row, and use regular push-ups instead of the anchored chest press.
Build your setup with our travel resistance band kit. For more exercise options, see our full-body resistance band workout, or review band row form before your first anchored set.
How to use a door anchor safely in a hotel
Most hotel entry doors swing into the room, so from inside they pull the wrong way for anchored exercises. Check the bathroom or closet door instead: stand on the side the door swings away from, so your pull presses it into the frame rather than pulling it open. If no door in your room swings the right way, use the unanchored alternatives above. Don't train in the hallway, and don't rely on a latch to hold a door that opens toward you.
Check that the door, frame, hinges, and latch are solid. Avoid glass, sliding, damaged, or flimsy doors. Install your anchor according to its instructions, close the door fully, and lock it so no one can open it mid-set.
Inspect the anchor fabric, stitching, clips, and bands. Start with light tension and two or three slow test repetitions. Stop if anything moves. Stay clear of the potential recoil path.
Using the XBAR Full Door Anchor (15 anchor positions)? Follow its setup instructions. Compact door anchors have their own installation requirements, so follow the instructions for yours.
Pick your time: 10, 15, 20, or 30 minutes
| Available time | Warm-up | Circuit | Finish |
|---|---|---|---|
| 10 minutes | 1 minute | 1 round: 8 minutes | 1 minute |
| 15 minutes | 2 minutes | 2 rounds at 30 seconds work/15 seconds rest: 12 minutes | 1 minute |
| 20 minutes | 3 minutes | 2 rounds: 16 minutes | 1 minute |
| 30 minutes | 4 minutes | 3 rounds: 24 minutes | 2 minutes |
Except for the 15-minute option, use 40 seconds of work and 20 seconds of rest per station. Finish with easy walking and comfortable mobility.
If you need a longer warm-up or more rest, reduce circuit time.
Short on time? Try our under-15-minute XBAR workout.
A 3-day hotel workout plan
For three consecutive travel days, alternate strength work with an easier day.
| Day | Plan | Focus |
|---|---|---|
| Day 1 | 20-minute bodyweight or band routine | Find suitable variations and establish your baseline. |
| Day 2 | 10–20 minutes of easy walking and gentle mobility | Move comfortably without another hard strength session, which is especially welcome after a long flight or a day of sitting in meetings. |
| Day 3 | Repeat the 20-minute routine; use 30 minutes if recovered | Match your technique, then add a little challenge if appropriate. |
Record your variations, band resistance, and approximate repetitions.
What to pack for a travel workout
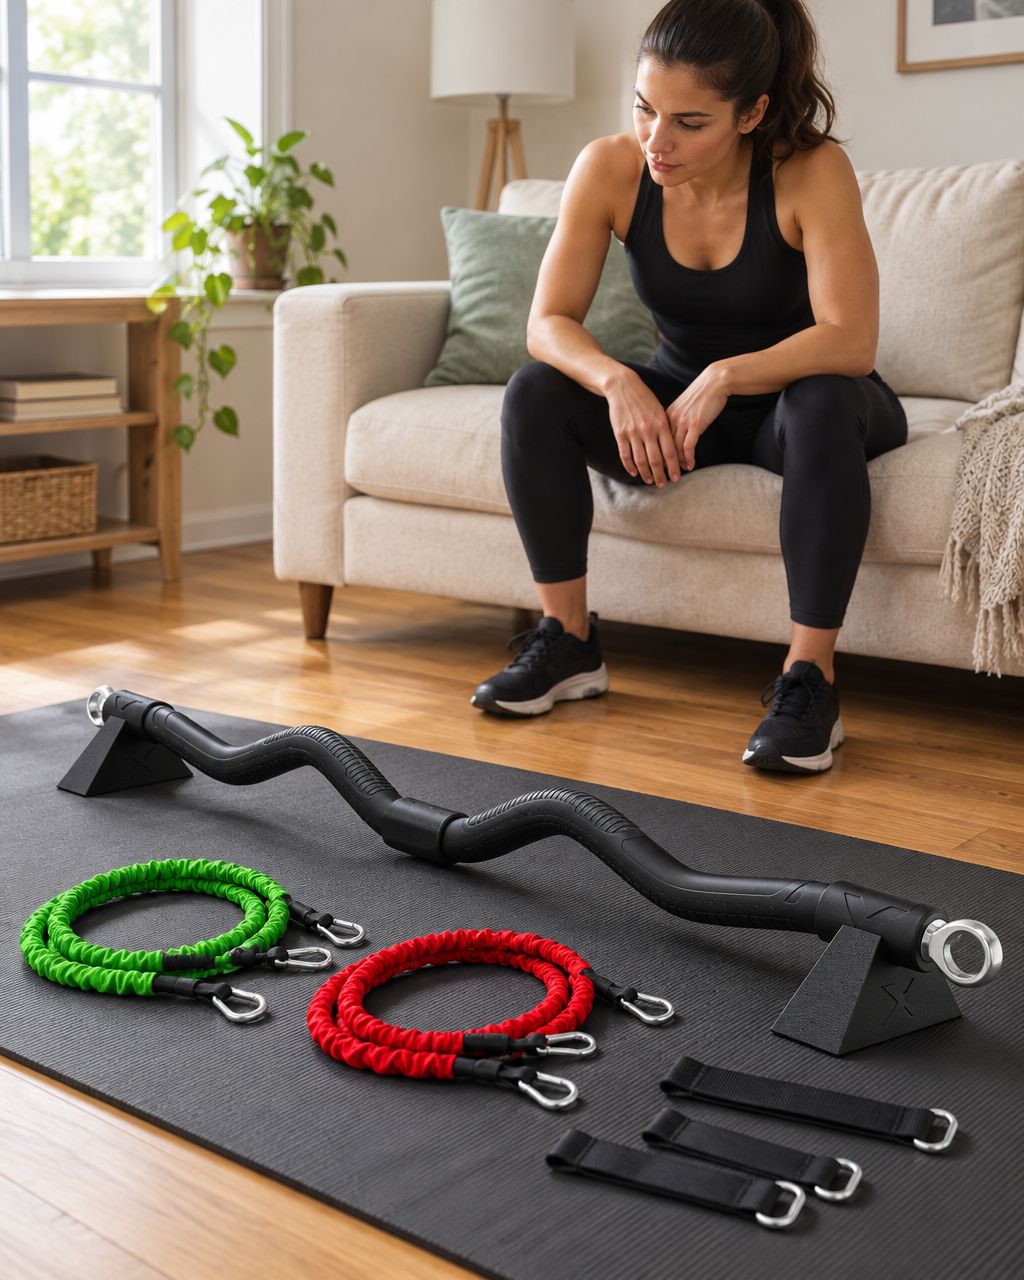
- Two or three resistance levels: A lighter option for presses and a heavier option for rows or squats.
- Compatible handles: Useful for gripping bands during upper-body exercises.
- A compact door anchor: For rooms with a suitable door.
- A small storage pouch: Keep clips and bands together and away from sharp objects.
This bands-and-handles setup is the carry-on-focused option. Packed weight and dimensions depend on your selections; weigh and measure your finished pouch against your luggage allowance.
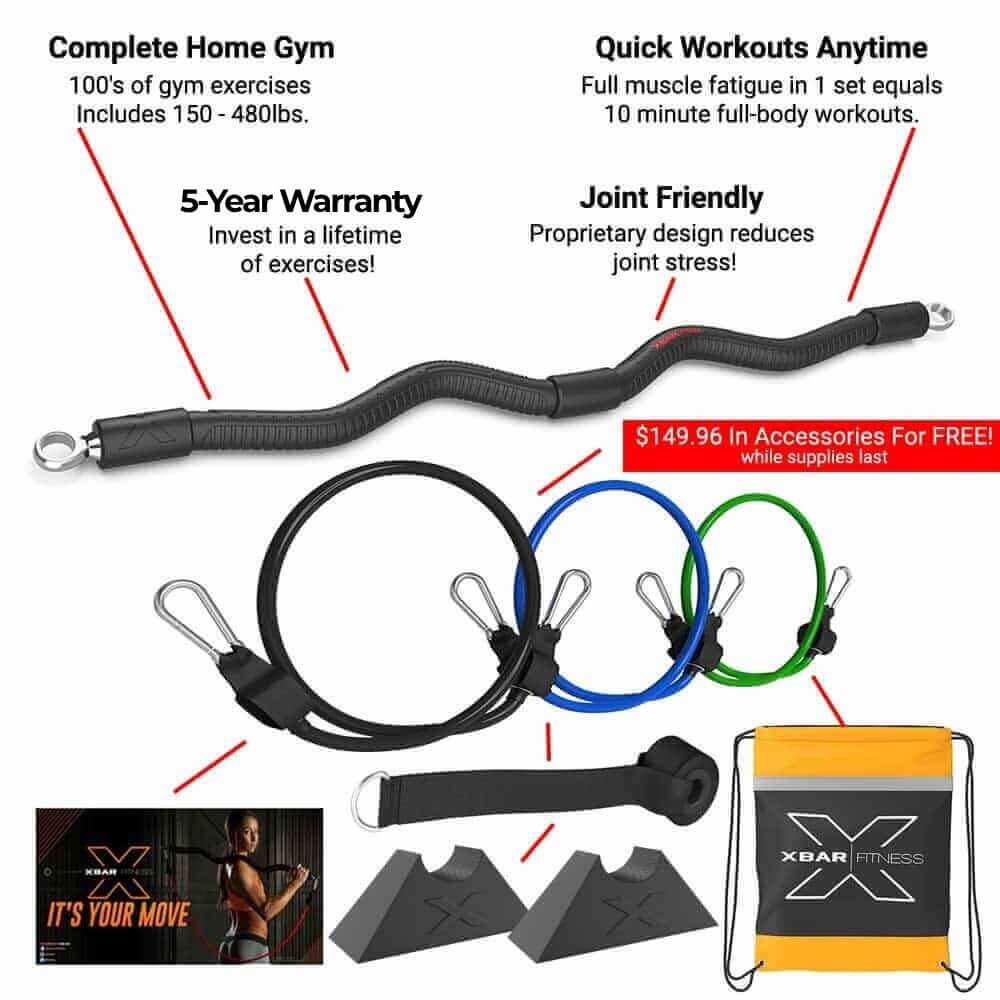
The XBAR bar weighs about 8 pounds and measures about 35 inches tip to tip. Add it when your luggage and transport arrangements accommodate it, such as a road trip; don't assume the full bar-and-band kit fits a standard carry-on.
Explore travel bands and accessories, or read our portable gym guide for small spaces.
If the hotel has a gym
A usable hotel gym workout needs only a few basics. Try this simple plan:
| Exercise | Sets and repetitions |
|---|---|
| Dumbbell goblet squat | 2 × 8–12 |
| Dumbbell Romanian deadlift | 2 × 8–12 |
| Dumbbell floor press | 2 × 8–12 |
| Cable row or dumbbell bent-over row | 2 × 8–12 |
| Forearm plank | 2 × 20–40 seconds |
Warm up first, then rest 60–90 seconds between sets, longer if needed. Allow approximately 25–30 minutes; equipment availability and rest needs will change the timing.
Hotel gyms often close early, fill up at the same hours everyone else is free, or have limited, dated equipment. If yours is closed, crowded, or poorly equipped, use the room routine: no waiting, no machines, and no hunting for the gym after a long travel day. And listen, we love variable resistance, e.g., resistance bands but dumbbells and machines have their place. Use them too, if you've got them.
Frequently asked questions
Can you build muscle in a hotel room?
Yes. Bodyweight exercises and resistance bands can support muscle growth when training is sufficiently challenging and progresses over time. Consistent training, adequate food, and recovery matter more than the room. A single trip helps maintain your routine; meaningful muscle growth takes sustained work.
How do you work out quietly?
Keep your feet grounded, avoid jumping, control each lowering phase, and place equipment down gently. Split squats, bridges, push-ups, Y-T-W raises, and band rows work well. Use a nonslip mat for floor exercises and avoid furniture that shifts or rattles.
Are resistance bands allowed in carry-on bags?
TSA officers make the final call at the checkpoint, so no retailer can guarantee clearance. Before you fly, check TSA's What Can I Bring? tool or send AskTSA a photo of your bands and accessories. Ask separately about a rigid exercise bar, and check your airline's carry-on limits and your departure country's rules.
Keep your routine in your bag
Start with the bodyweight plan on your next trip. When you want loaded pulling exercises and adjustable resistance that fit in a carry-on, shop our travel workout equipment.
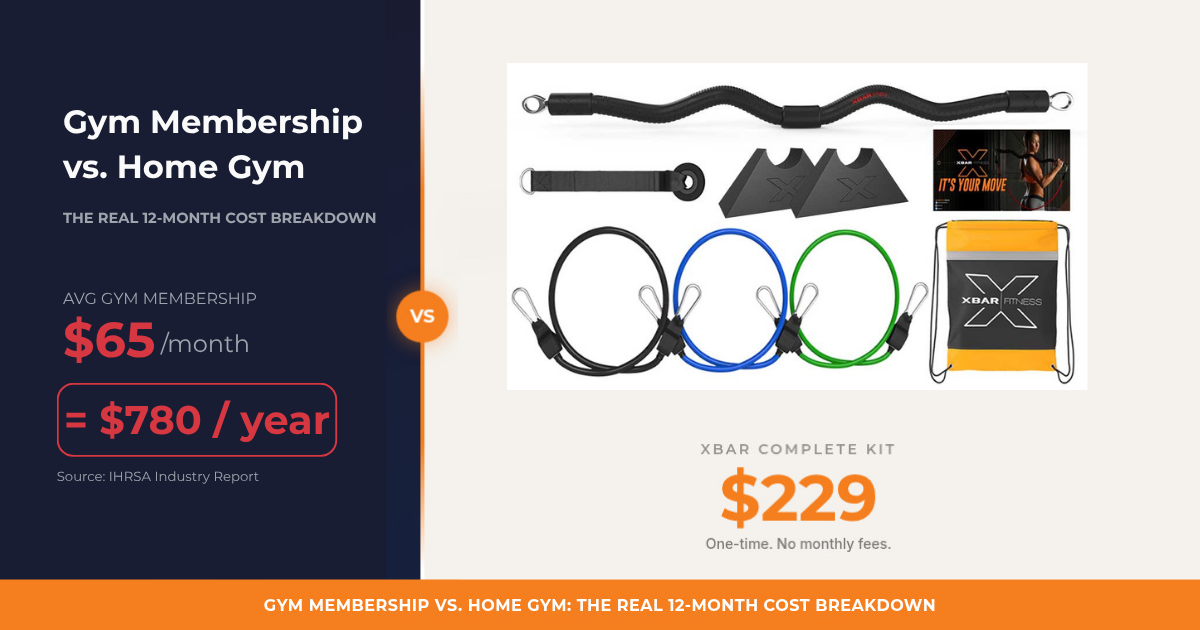
Training at home too? The Complete XBAR Home Gym Kit pairs bands with a full-length bar for heavier sessions.