


Resistance System 2.0 Getting Started
This is your fast-start guide for RS 2.0: setup, tension selection, and the “don’t launch the clip into orbit” safety checklist.
Step 1: Inspect and organize
- Lay out your bands by resistance level.
- Check clips, stitching, and band material for wear.
- If anything looks compromised, don’t use it.
Step 2: Pick your anchor method
- Door anchor for travel + fast angle changes
- Strap/post anchor for beams, poles, trees, rack uprights
Step 3: Clip-in sequence (the safe order)
- Attach the band to the anchor.
- Attach the band to the XBAR Bar ends (or handles).
- Step back slowly to create tension.
- Do a light “test pull” before working sets.
How to choose the right tension
- Strength day: 8–12 reps where the last 2 reps are a grind (but clean).
- Endurance day: 15–20 reps with controlled tempo and no bouncing.
- Adjust using: band choice, stance width, distance from anchor, or stacking.
Common setup errors
- Anchor not fully seated (especially in doors)
- Standing too close (no tension = no stimulus)
- Letting bands twist around each other (uneven pull)
- Rushing the eccentric (that’s where growth lives)
Starter circuit (RS 2.0)
2 rounds • 12–15 reps • 45–75s rest
- Row (mid anchor)
- Press (mid anchor or band-under-feet)
- Hinge or squat (band-under-feet)
- Core rotation (wood chop or twist)
Need more resistance options? Shop Resistance Band Sets. Want the full setup? Explore Home Gym Kits.
Support: info@xbar.com
Trusted by +20,000 Happy Customers
Discover top-rated bestsellers
Join thousands who’ve already reached their fitness goals with these top picks
Sold out
Pre-order
Low stock


Complete XBAR Home Gym Kit for Full-Body Workouts
$229.00
Sold out
Pre-order
Low stock
SaleSave 24%


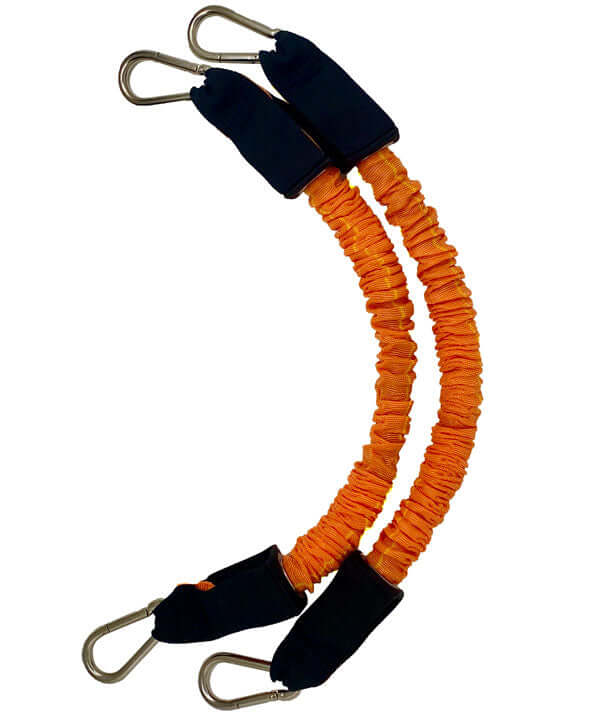
110 lb Sleeved RS 2.0 Bands – Pair for XBAR RS 2.0 System
$129.99 $99.00
Sold out
Pre-order
Low stock


Heavy Duty Handles – Ergonomic Pair for XBAR & Band Workouts
$34.99
Sold out
Pre-order
Low stock


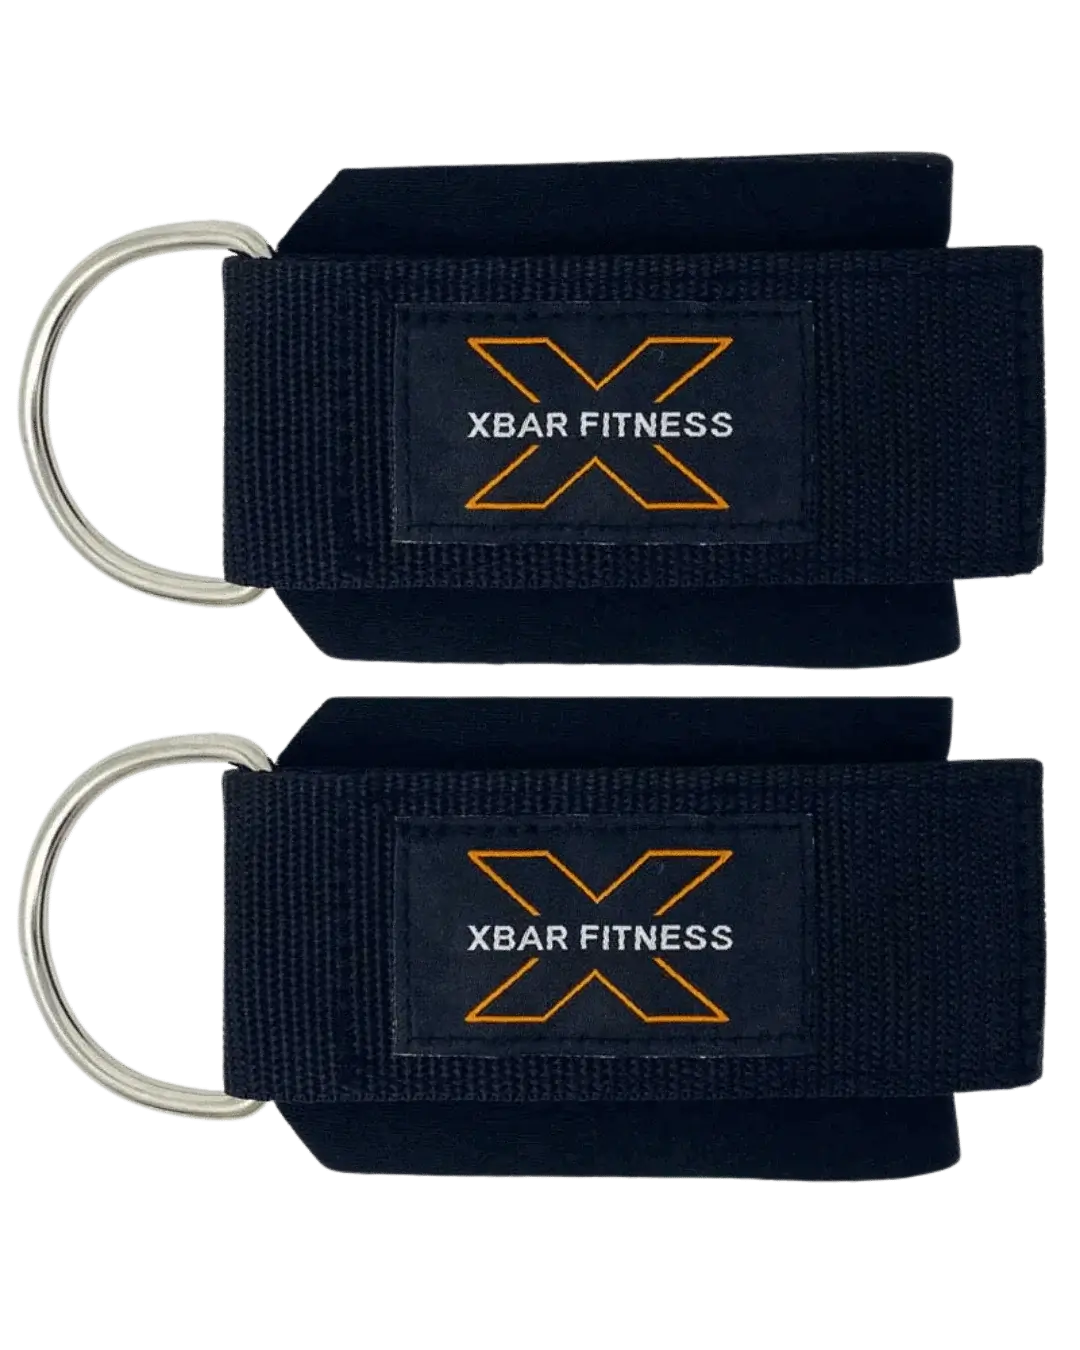
Ankle Straps - Heavy Duty (2 Pack) for Bands or Cable Machines
$29.99